This was an interesting project, photographing food is hard. These photos were taken over a 30 hour period and the light varied a lot.
3 cups of whole wheat flour
1/2 cup of low fat soy flour (extra Protein)
1/2 gluten flour ( extra protein and extra gluten)
one tablespoon yeast
mix together with 4 cups hot water
mixing the yeast into the flour first keeps the hot water from killing the yeast

This is called a sponge, mix thoroughly until the flour is all moist
Go away, knit, read, I went to the farmers market
3 hours later it was bubbly and bigger, it also smells yeasty. I could have kneaded it then but I was tired. Stired it down and left it overnight sitting on the kitchen counter. I didn't bother this time but if there was a lot of dust or bugs I would cover it.
Fruit flies are really attracted to the gases
See the lines, that's gluten. Gluten when developed forms thin, long stands that hold the gas in to make bread light and developing gluten is the whole point of kneading the dough.
Next morning put 2 tablespoons, a good dollop of oil and 1 tablespoon of salt in and mix.
I use olive oil and gray sea salt but I'm a food snob.
Put 4 cups of white floor (could use whole wheat but the bread would be heavier) on the counter. Dump the sponge on and work the floor in and knead (forgot to take a (picture) The sponge doesn't want to take in all the flour, work at it. Knead for a good 20 to 30 minutes. You can take breaks,
I bird watch, there's a feeder right outside the window.
This is the baby bottom stage, smooth and alive. It is possible to over knead bread and have the gluten collapse but it's not very probable. one of the things I should have done taking the pictures is put in a ruler for scale. the tiles are 8 inches square
This is one of the best tips I know, I like to give credit but I can't remember where I learned this put another good dollop of oil in the bottom of the rising bowl, Put in the kneaded mass and swirl it around, flip it over and swirl again, this coats the mass with oil so it will rise without drying out.


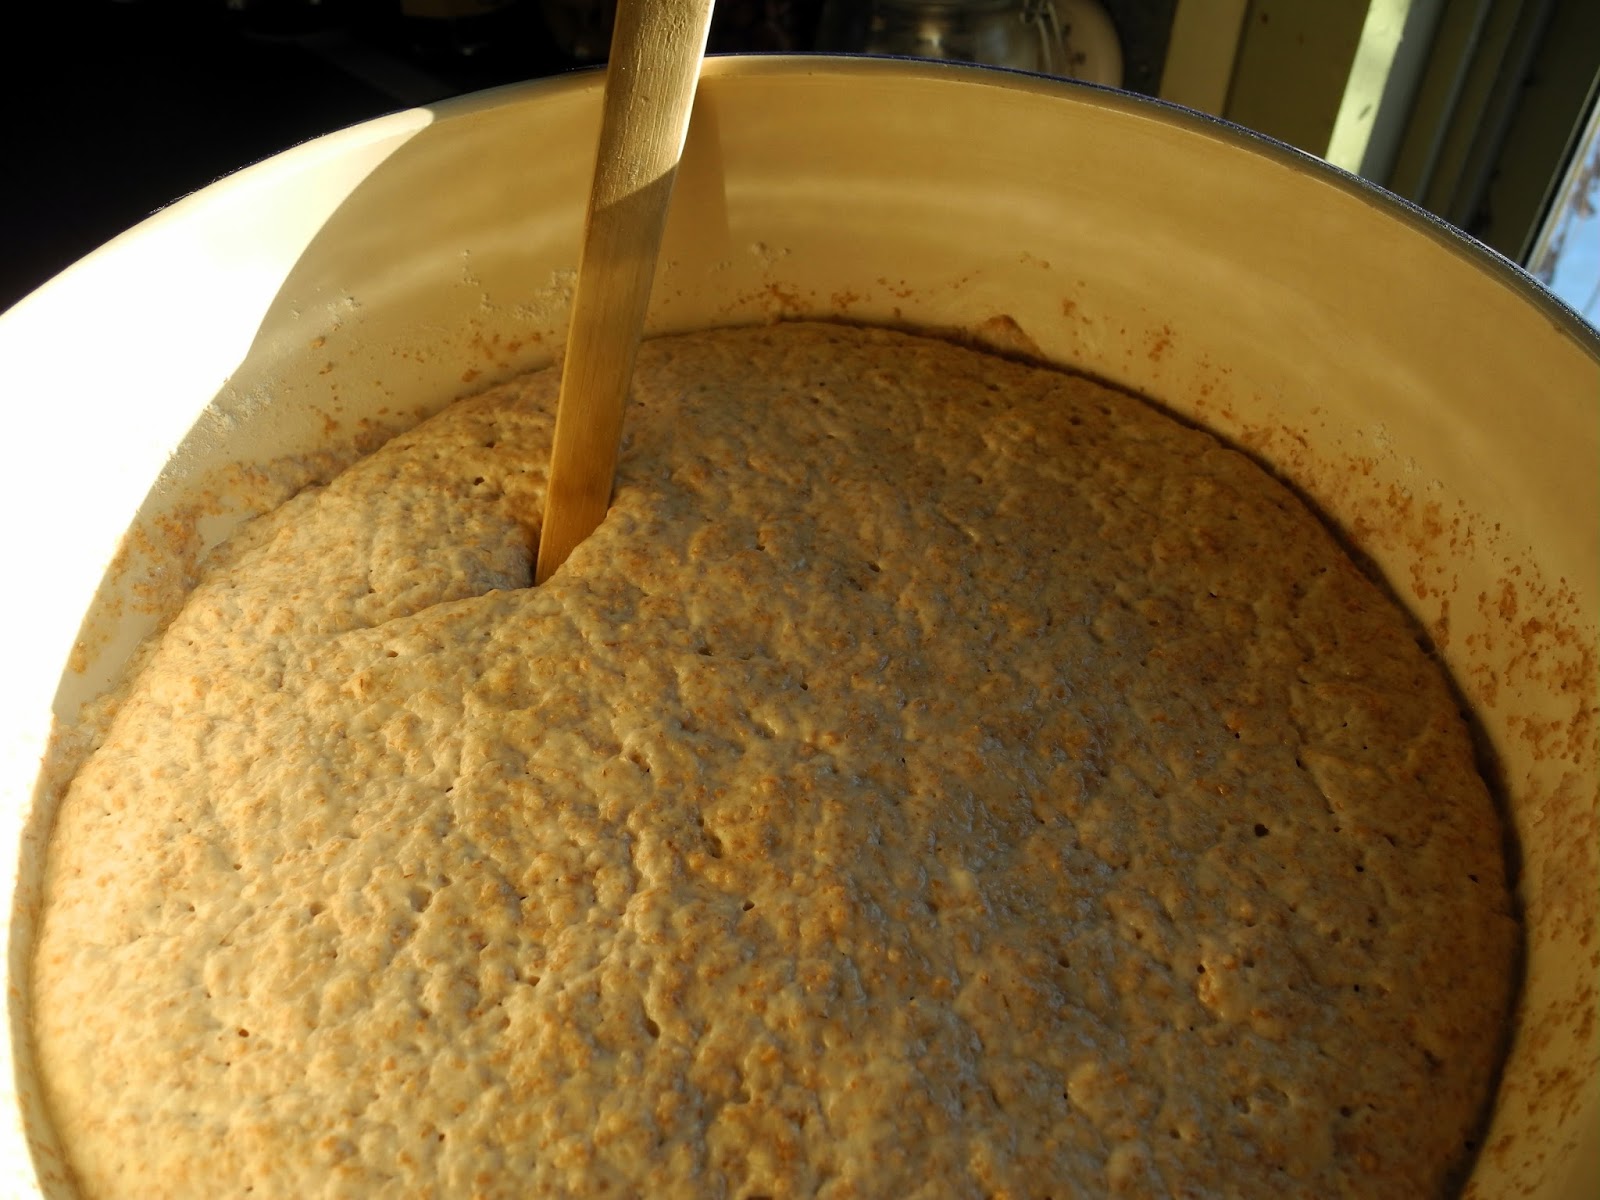
Four hours later, doubled in bulk, in the top left you can see where I put my finger in it and the hole doesn't fill up.

cut in half with a bread knife I like big loaves, knead a moment and shape into loaves, oil a big cookie sheet, and plop the loaves on, slash the loaves that lets them rise more evenly, and it looks good. Spray with water or cover with a damp cloth to keep the outside from drying out.
notice the difference in how far apart the loaves are. I put chopped olives and cheese in one loaf. Let them rise again 2 hours or so. Preheat the oven, 375 and put them in, reduce oven heat to 325. Bake about 50 minutes.
And here they are, golden brown and bigger than when they went in the oven.
Thump with your knuckles, and enjoy that hollow sound.
I tied to take a picture of the first slices but it didn't turn out,I ate it. the slice of bread not the picture.


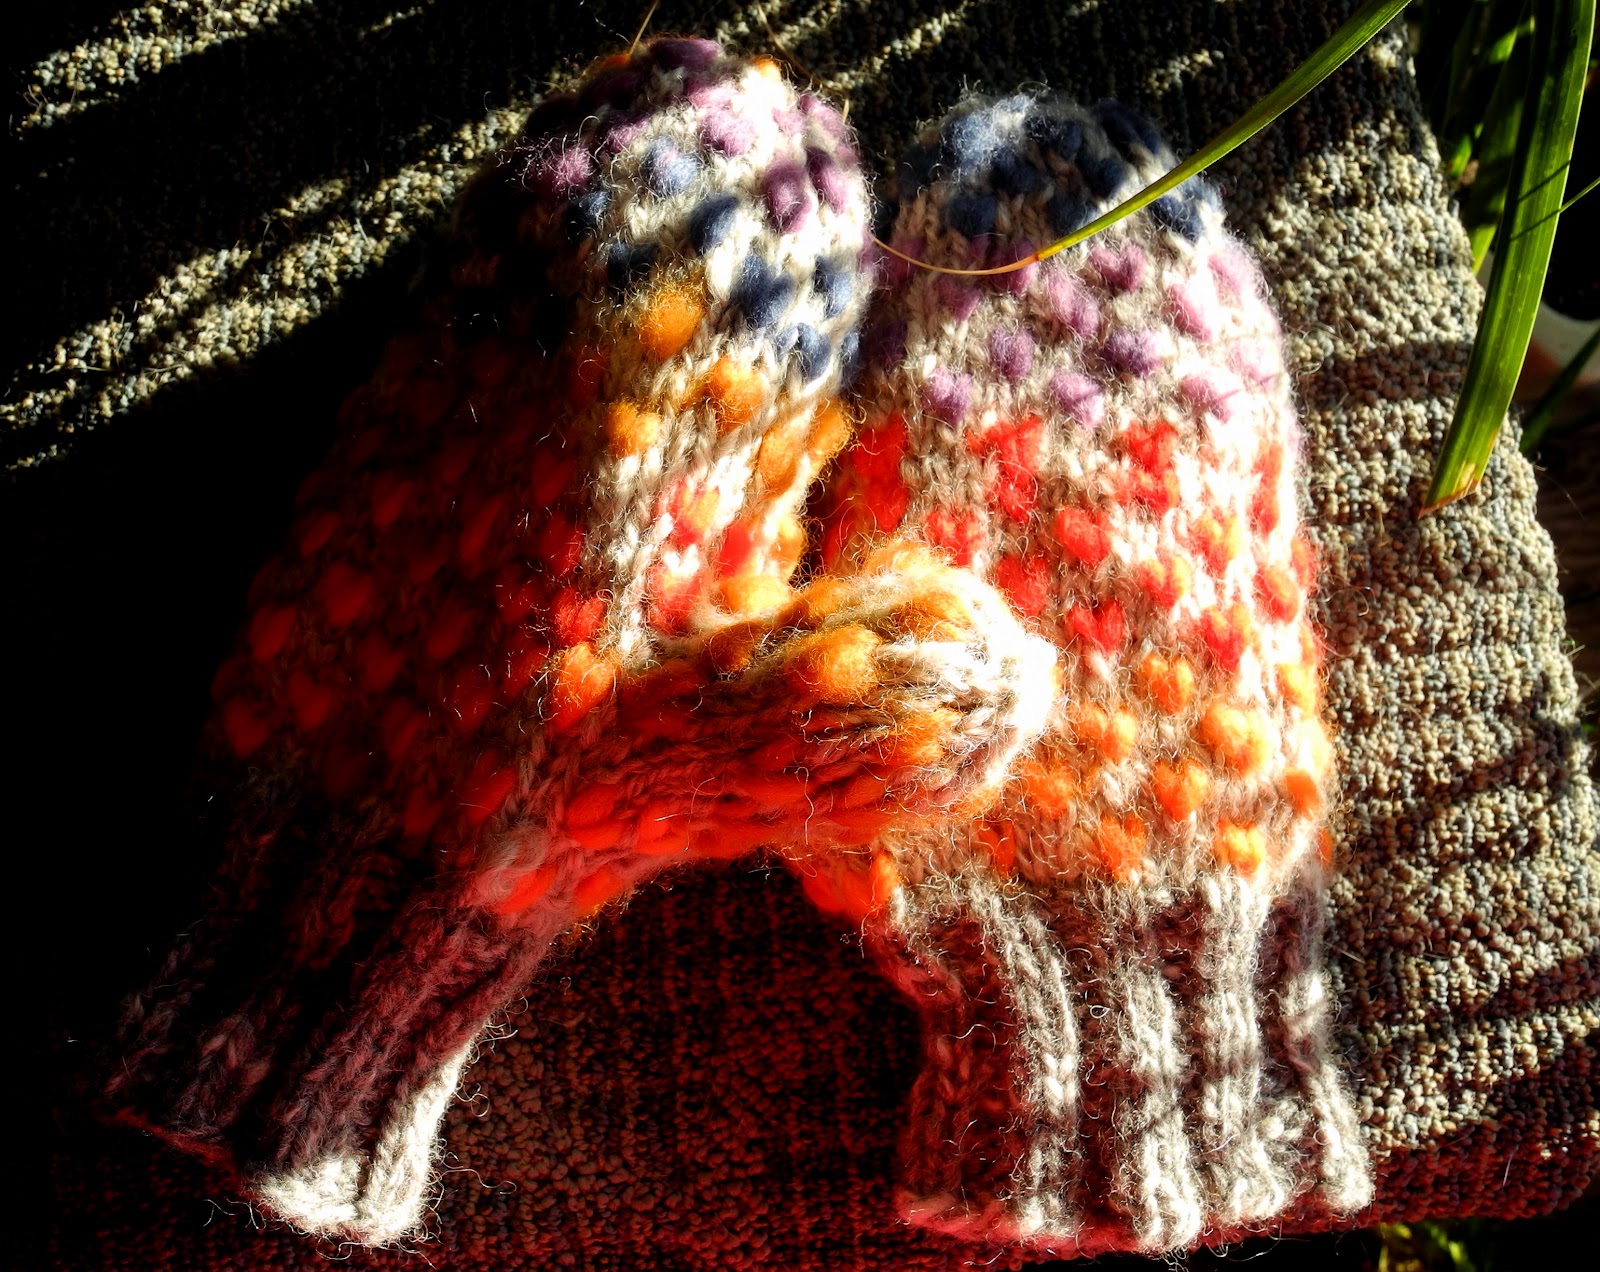
 I am asked in person when wearing them and on


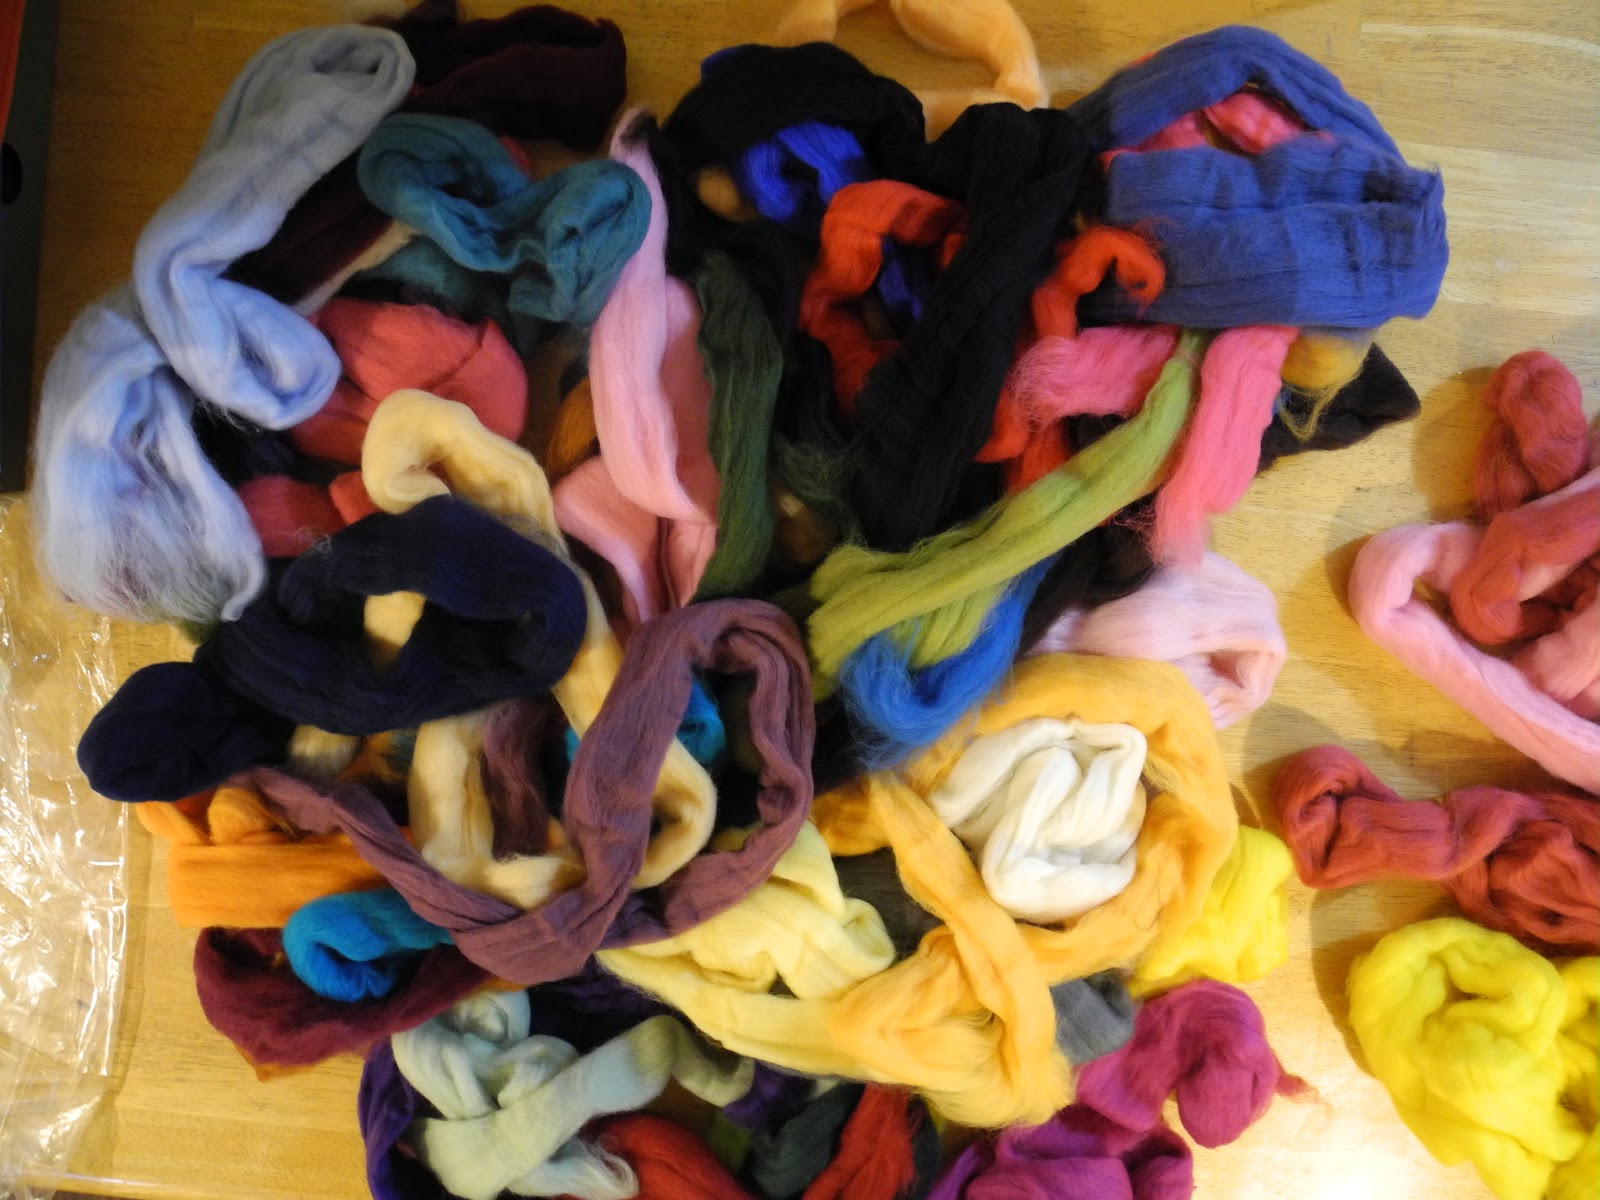
 This is more than 800 gr. of Merino


